
Multiple Smart Objects in One PSD: How to Target the Right Mockup Layer
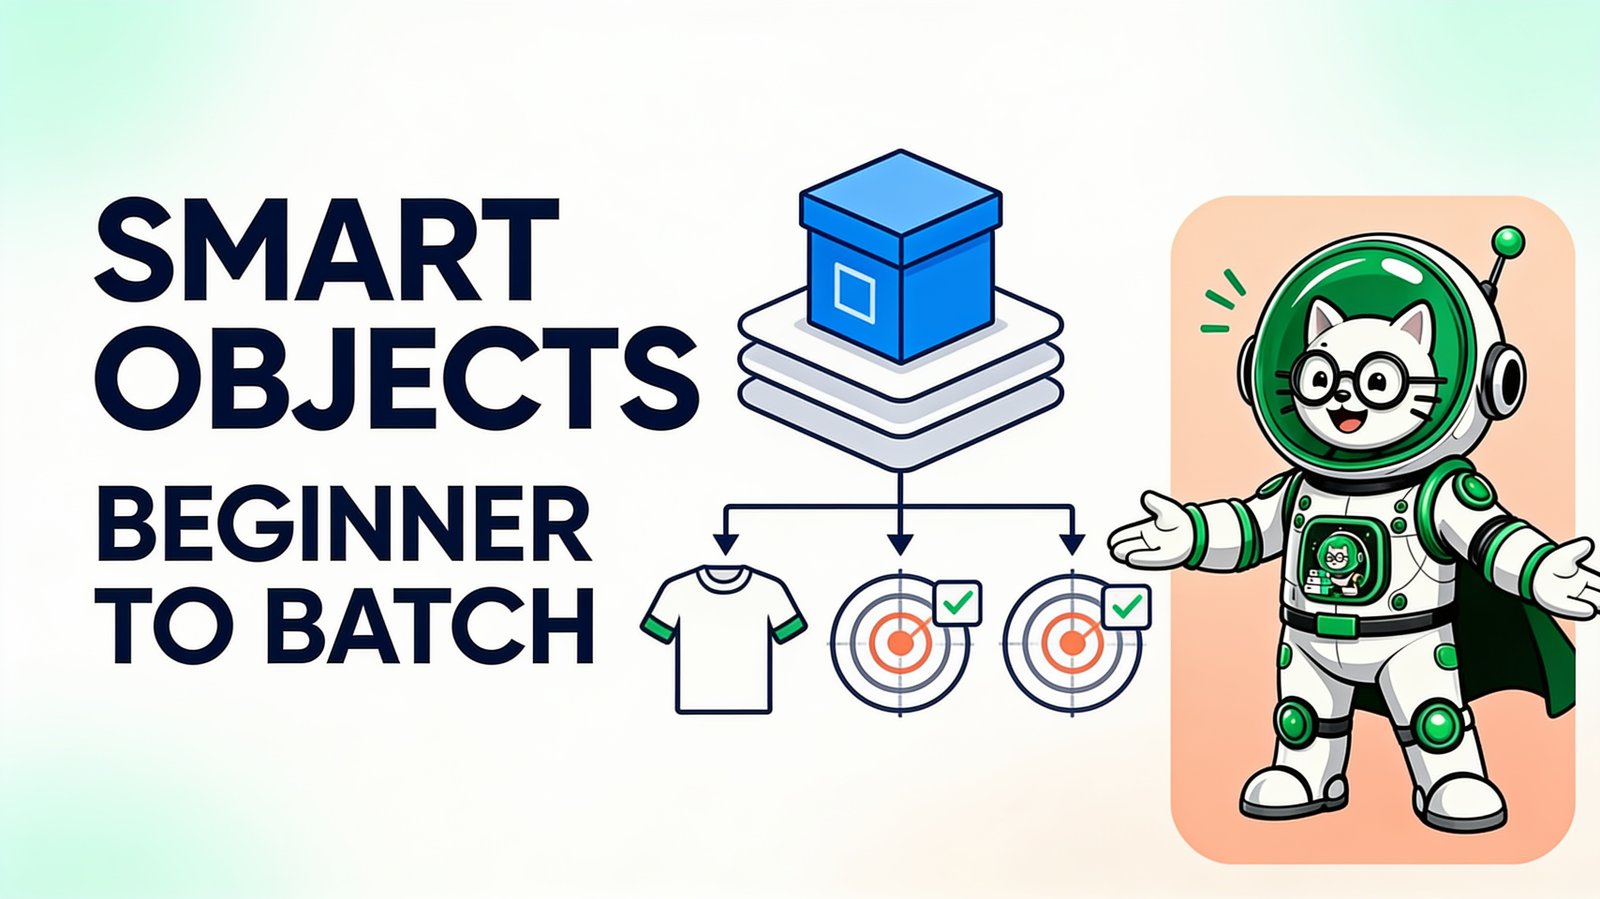
When a PSD contains multiple Smart Objects, give every intended artwork target a unique name and explicitly select the layer that should receive the design. A renderer can detect that several Smart Objects exist, but it cannot infer whether your business wants the shirt front, sleeve, label, phone screen, or background.
The safe rule
- Name placements by function:
FRONT_PRINT,BACK_PRINT,SLEEVE, orLABEL. - Confirm whether repeated layers share one Smart Object source.
- Use focused layer targeting instead of relying on detection.
- Run separate passes when placements need different artwork or output groups.
- Proof nested objects, masks, displacement, and effects before the full batch.
Why mockup PSDs contain several Smart Objects
A lifestyle scene may show several products. Apparel can have front, back, sleeve, neck label, and hang-tag placements. Packaging may include a box face, insert card, label, and background sign. Interface mockups may show several screens. Each replaceable area can be a separate Smart Object.
Some templates also duplicate the same source at different positions. Adobe's Smart Object documentation explains that instances can share source content while retaining different transforms and styles. That is useful when one design should appear several times, but surprising when you expected independent artwork.
Shared source vs independent Smart Objects
| Structure | What happens | Use case |
|---|---|---|
| Shared source instances | Editing the source can update every linked instance | Same logo repeated on several scene objects |
| Independent sources | Each Smart Object accepts different content | Front and back artwork, separate labels, several screens |
| Nested Smart Object | A source exists inside another container | Complex perspective or reusable scene components |
If front and back must be different, verify that they do not share one source. In Photoshop, template authors can create an independent Smart Object rather than an ordinary duplicated instance. Keep the master PSD backed up before changing its structure.
Name layers for machines and humans
Good names make both automation and troubleshooting easier:
FRONT_PRINTBACK_PRINTSLEEVE_LEFTNECK_LABELMUG_WRAPPHONE_SCREEN_01
Avoid five layers called YOUR DESIGN or Smart Object copy. Names should be unique, stable, and based on placement rather than a temporary campaign.
How to target one Smart Object in PodBulk
- Open the production copy of the PSD in Photoshop or Photopea and record the exact target layer name.
- Open PodBulk and add that PSD plus one proof design.
- Enable the focused Smart Object option.
- Enter the target name exactly, including spaces and capitalization where applicable.
- Render one proof and confirm that only the intended placement changed.
- Add the remaining designs only after the proof passes.
Use the fast path for ordinary compatible templates and the fuller compatibility path when the PSD relies on several objects, masks, or effects. Rendering speed depends on the file and computer.
For the exact current controls and error behavior, read the official PodBulk Auto Detect, Focus and multiFocus guide.
Front and back mockup workflow
Separate passes are easier to audit:
- Target
FRONT_PRINT, process the design chunk, and store the outputs in a front folder. - Target
BACK_PRINT, process the correct back-art folder, and store the outputs separately. - Compare design IDs and expected counts.
- Combine only approved front/back pairs in the listing folder.
If the front and back always use the same source design, a shared-source template may be intentional. If artwork differs, independent targets and a manifest reduce mistakes.
Multiple products in one scene
A scene containing a shirt, mug, and poster can use three independent Smart Objects. Decide whether the job needs:
- the same design on all three products;
- one target replaced while the others stay fixed;
- three different mapped designs;
- separate output sets for each product.
A simple design-folder batch usually assumes one source design applied to one selected target at a time. More complex mapped inputs may require separate passes, a custom API workflow, or Photoshop scripting. Choose the simplest structure that produces an auditable result.
Troubleshooting the wrong target
PodBulk reports several possible targets
In v39, Auto Detect does not choose arbitrarily among several Smart Objects. It stops and lists them. Use Focus with the exact case-sensitive name for one target, or multiFocus with a prefix ending in _ when the same design belongs in every member of a layer family.
Two placements change together
Their layers share one source. Create independent Smart Objects if different content is required.
The named layer is not found
Check spelling, spacing, nesting, visibility, and whether the named item is truly a Smart Object rather than a group or regular layer.
A nested design does not render
Test the PSD manually, then try the fuller compatibility path. If the required source is inaccessible to the batch workflow, simplify the production copy or use Photoshop.
Effects disappear on one target
Inspect masks, clipped layers, filters, linked displacement assets, and the placement's visibility. Isolate the template before rerunning a folder.
Template-preparation checklist
- Back up the original PSD.
- Rename every intended target uniquely.
- Document shared and independent sources.
- Keep product effects outside the replaceable artwork source.
- Embed required assets when permitted.
- Proof every target with light, dark, wide, and edge-heavy designs.
- Record the target name in the run manifest.
Continue learning
For the fundamentals, visit the Smart Objects hub. For the full replacement process, read how to batch Smart Objects without Photoshop.
Frequently asked questions
Can one PSD contain multiple Smart Objects?
Yes. A PSD can contain many Smart Objects for separate products, placements, labels, screens, backgrounds, or repeated instances.
How does PodBulk choose the correct Smart Object?
In v39, Auto Detect uses one unambiguous Smart Object or a preferred podmock layer. If several other targets exist, it stops and lists them. Choose Focus for one exact case-sensitive layer name or multiFocus for every target sharing a prefix ending in _.
Why do two Smart Objects change together?
They may reference the same embedded or linked source. Rebuild them as independent Smart Object sources when each placement needs different artwork.
Can I batch front and back mockups?
Yes. Separate named passes are often easiest: target the front layer for one controlled output set and the back layer for another, then verify both.
Can a Smart Object be nested inside another Smart Object?
Yes. Nested structures are valid, but a batch tool may need the intended accessible target and a compatible rendering path. Test complex nesting before a large job.
What layer names should I use?
Use short unique functional names such as FRONT_PRINT, BACK_PRINT, SLEEVE_LEFT, LABEL, or SCREEN. Avoid several generic layers named Smart Object copy.
Stop making mockups one by one
PodBulk turns your PSD templates + designs into bulk, listing-ready mockups right in your browser — no Photoshop, no install.